
Lately I have been swamped with homework and so all of my spare time has been dedicated to hanging out with my sweet little family. I finally have a break from homework (until tomorrow) so I thought I would share the "how to" part of the DIY Rosette Wreath.
While searching through pinterest I found these lovely rosettes from CraftaholicsAnonymous. I did not follow her exact method to create the rosettes, but it was quite similar to her style. If you make your own you will understand what I mean because you will more than likely find a way that works best for you and run with it.
To start, I cut a strip of fabric. Any fabric will work, but I used a cream printed fabric and a plain black fabric to make my rosettes. I did not measure out any certain length (mostly because I didn't feel like getting up to get a tape measure) I just eyeballed what looked to be about two feet in length since she used a length close to two feet then cut a width close to three inches. When using a thicker fabric I would recommend making the width thinner because the rose could get pretty chunky if you don't. My black fabric was fairly thick and it was more difficult to work with because of the width, so the second time I did my black rosette I made the width smaller. Next fold your strip in half and tie a knot in it.
While searching through pinterest I found these lovely rosettes from CraftaholicsAnonymous. I did not follow her exact method to create the rosettes, but it was quite similar to her style. If you make your own you will understand what I mean because you will more than likely find a way that works best for you and run with it.
Once I tied the knot I hot glued the extra at the end of it to the back of the knot then hot glued that to a two inch circle of fabric. Next, I started twisting and wrapping the fabric around the original knot layering it like flower petals would. To help hold the twists in place I applied hot glue whenever I felt it was necessary. When I was finished I cut off any of the extra two inch circle that might have been hanging out. In the end my rosettes looked like this.
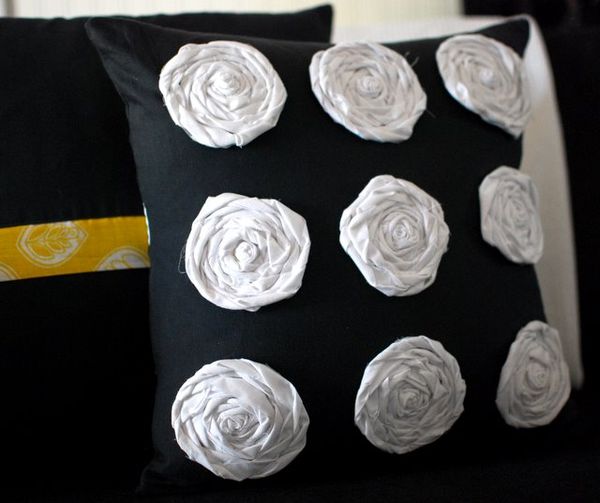
Thankfully, I improved as I continued, but for my first shot at it, this little rosette wasn't too bad! I did the same for the jute rosette except I almost doubled the length used for the fabric rosette and folded the length in half so that the jute had a bit more thickness to it. I just tied the knot and followed the same instructions for the fabric rosette, but when wrapping the jute rosette I found it easier to pin the center of the rosette down to cardboard so that it was easier to work with and wasn't moving all over the place. If you didn't understand any of this, then just Google it, there are tutorials everywhere for these things. I think my next rosette project will be these lovely pillows from this blog for our master bedroom.
Kasie
No comments:
Post a Comment